Surfboard Shaping and Glassing
Hands-On Composite Fabrication Project
Project overview
This project involved shaping and glassing a surfboard from recycled EPS foam through final finishing. The goal was to build a functional board while learning the full composite fabrication workflow, from blank preparation and shaping to fiberglass layup, fin box installation, and finishing. Reusing foam from a broken board added an additional constraint, requiring careful preparation and adaptation throughout the process.
1) Blank preparation and design planning
The foam blank was sourced by stripping fiberglass from a broken EPS surfboard, leaving just the foam core. After cleaning and inspecting the foam, I evaluated its remaining thickness and geometry to determine feasible board dimensions. The final design balanced reuse of existing material with desired performance, emphasizing efficient use of available volume.
Before shaping, I planned the board’s outline, rocker, thickness distribution, and rail profile. This planning stage was critical for working within the constraints of the recycled foam and avoiding unnecessary material removal.
Key parameters
Core material: recycled EPS foam
Resin system: epoxy
Intended use: general-purpose performance board
2) Layout and marking
With the blank prepared, I marked the centerline, outline, and key reference points along the length of the board. These markings served as constant checks during shaping and helped maintain symmetry between the left and right sides.
3) Rough shaping
Rough shaping focused on establishing the board’s outline and overall thickness profile. Material was removed gradually to define the rocker and basic deck and bottom contours. Because the foam came from a previously used board, additional attention was given to maintaining uniform thickness and correcting irregularities left from the original shape.
4) Fine shaping and rail work
Once the basic form was established, I refined the shape through fine shaping and rail work. This stage emphasized smooth transitions, consistent rail geometry, and symmetry. Frequent visual checks and hands-on inspection were used to make small adjustments rather than large corrections.
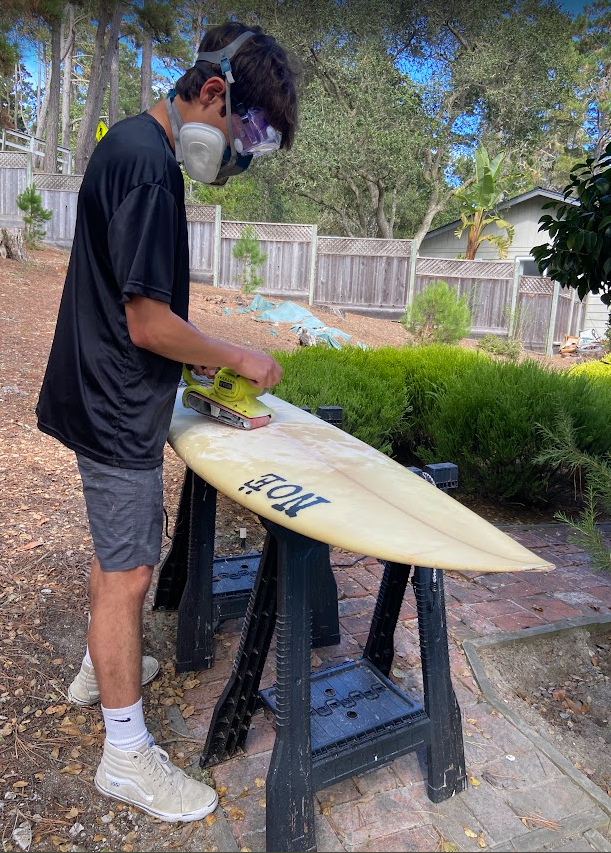
5) Surface preparation
After shaping was complete, the foam surface was sanded to remove tool marks and create a smooth, even base for lamination. Edges and transitions were cleaned up to ensure the fiberglass would lay flat and bond evenly to the EPS foam.
6) Layup schedule selection and materials prep
Before glassing, I selected a fiberglass layup schedule based on durability and weight considerations. The final layup was chosen to provide additional strength on the deck while keeping the bottom lighter.
Layup schedule
Deck: 6 oz + 4 oz fiberglass
Bottom: 4 oz fiberglass
Resin: epoxy
Fiberglass cloth was cut and staged in advance, with overlaps and reinforcement areas planned before mixing resin to ensure a clean and controlled lamination process.
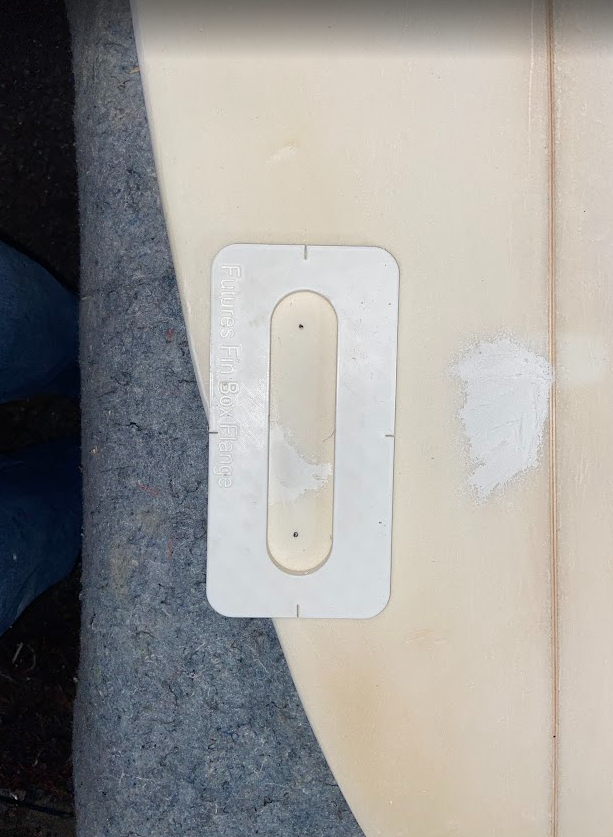
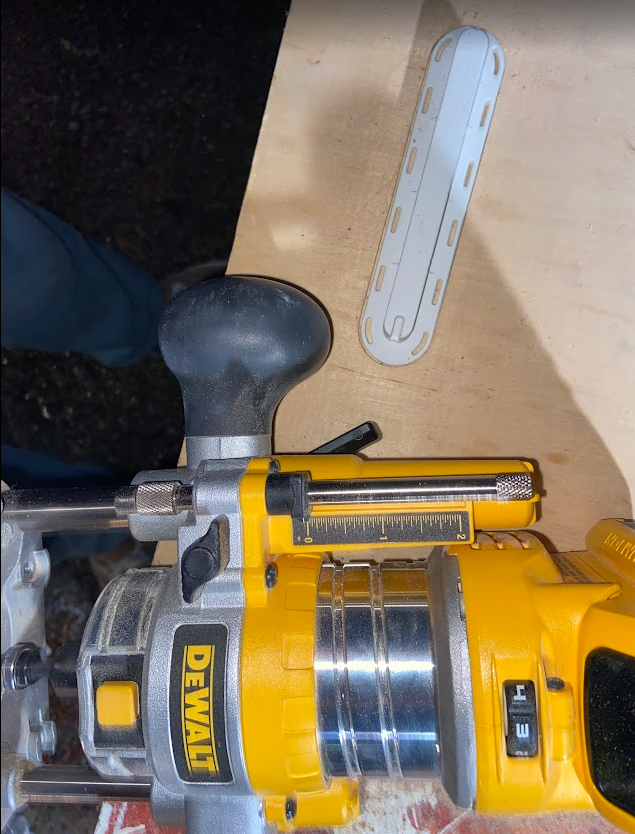
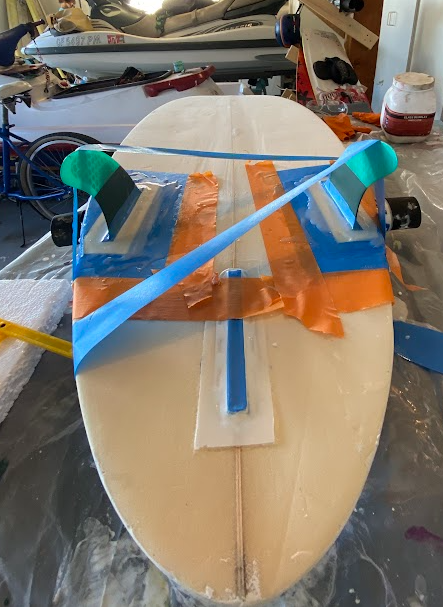
7) Fin box layout, routing, and installation
Futures fin boxes were used for the fin system. Fin locations were measured and marked relative to the board centerline, then routed using a 3D printed jig to control depth and alignment. The fin boxes were bonded in place with epoxy, ensuring they were square, evenly spaced, and properly aligned before glassing.
This step required precision, as small alignment errors can significantly affect board performance.
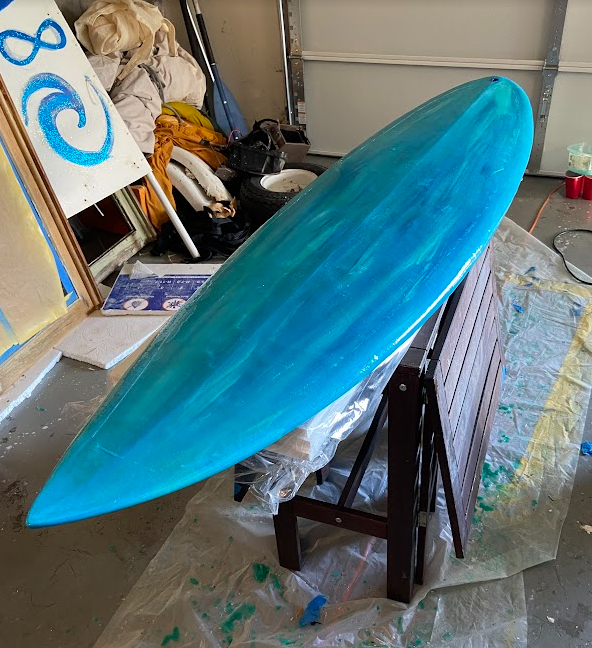
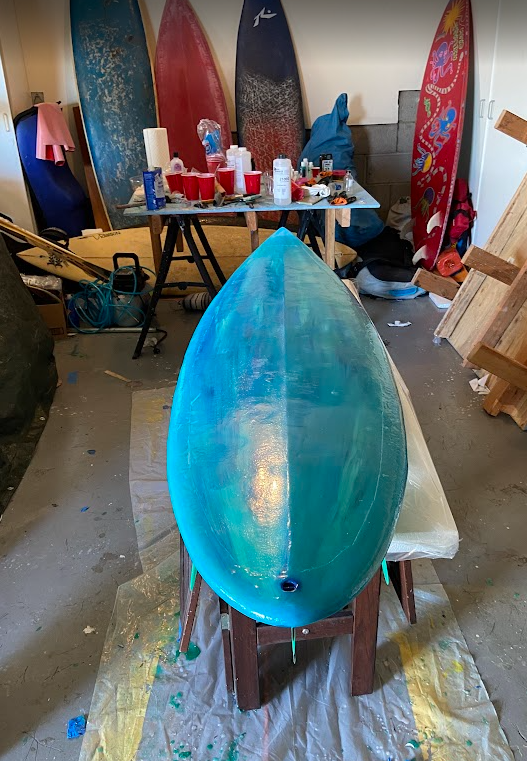
8) Laminating (bottom then deck)
Lamination was performed using epoxy resin, starting with the bottom and followed by the deck. Care was taken to fully wet out the fiberglass while minimizing excess resin. Special attention was paid to rail wrap and fin box areas to ensure good adhesion and a clean laminate.
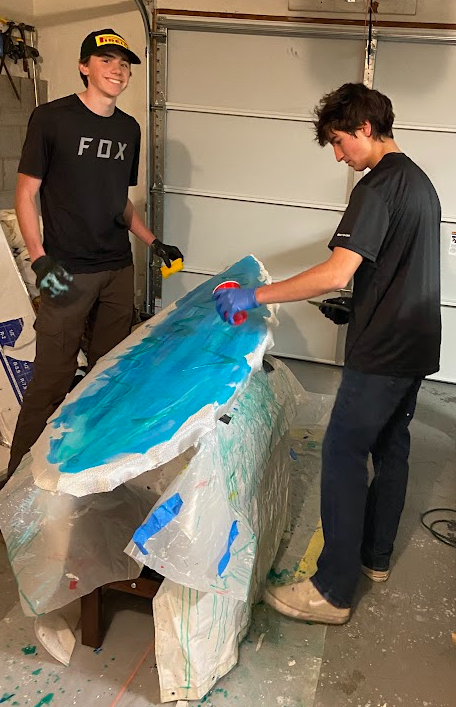
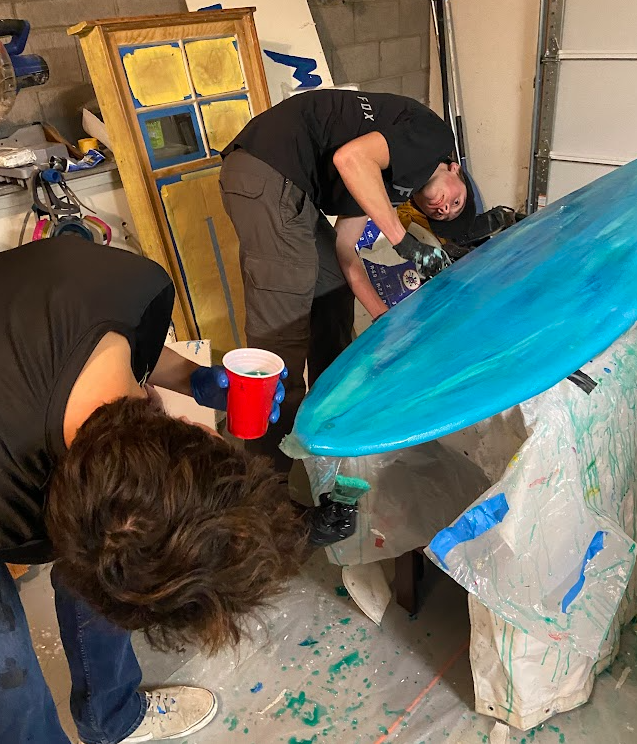
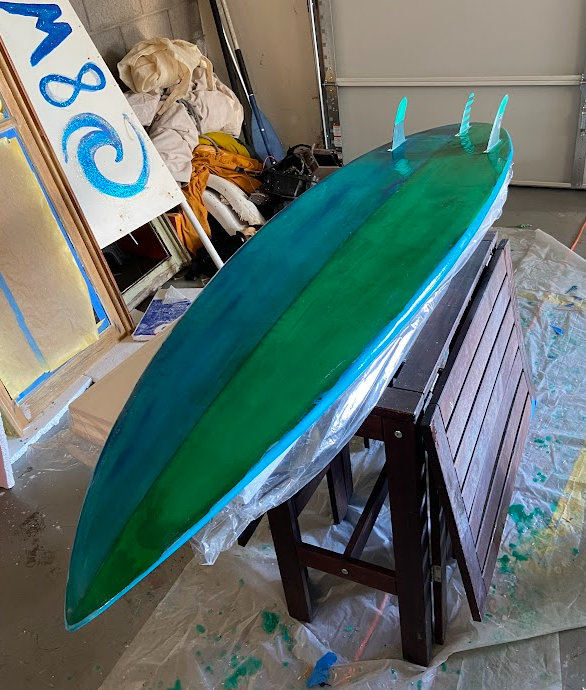
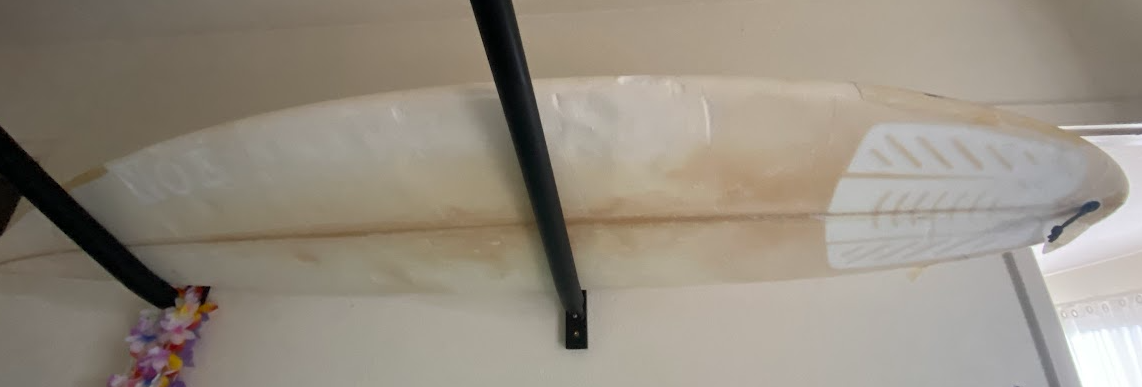
9) Fill coat, cure, and finishing
After lamination, a fill coat was applied to build material for sanding and surface finishing. Once fully cured, the board was sanded to achieve a smooth, consistent finish, blending rails and cleaning up transitions across the surface.
Key takeaways
This project reinforced the importance of planning, preparation, and sequencing when working with composites. Reusing EPS foam added practical constraints that required adaptability throughout the process. The project provided hands-on experience with epoxy composites, fiberglass layup selection, precision routing for fin systems, and finishing techniques, all directly transferable to composite fabrication in aerospace and related fields.